
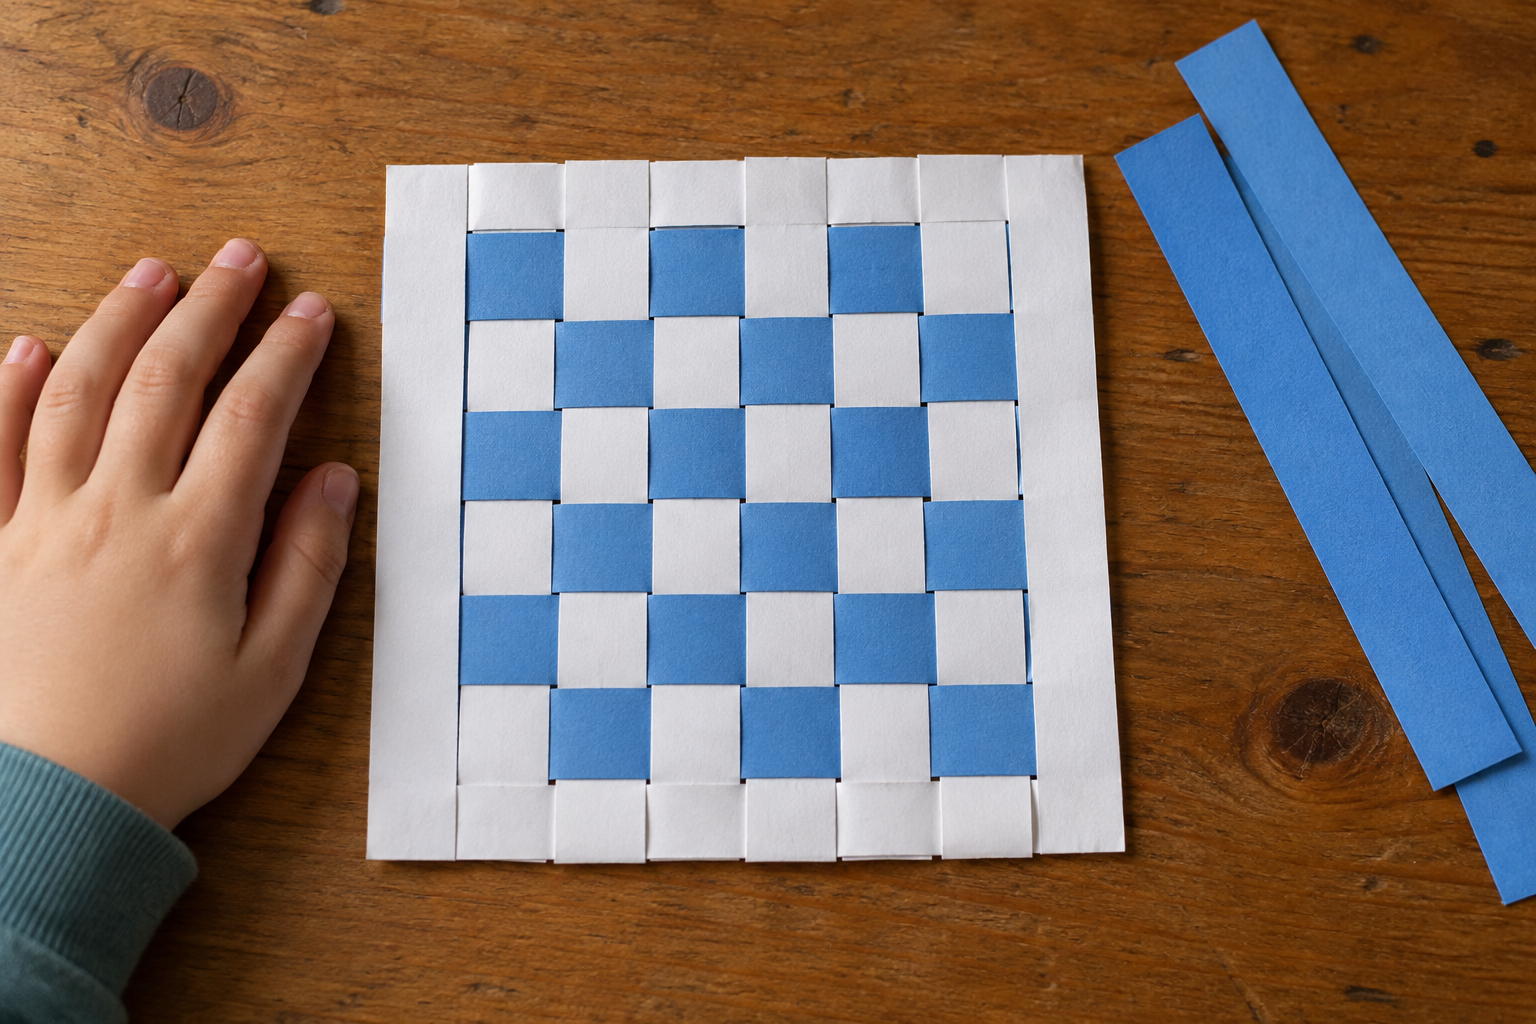
Paper weaving begins with a movement that is easy to show: take a strip over one band of paper, then under the next. Repeating that movement creates a surface from two ordinary sheets. The pleasure is watching separate pieces become something you can lift and hold together.
For a first session, keep the project small and the strips wide. A child who enjoys the pattern can add more rows. A child who loses interest can stop with a partial weaving. Neither outcome requires an adult to finish the picture after the child has moved on.
Set out a modest amount of material
Choose two sheets of paper in contrasting colors. Ordinary craft paper bends more easily than thick card; very thin tissue tears readily. Add a pencil, ruler, child-appropriate scissors, and a glue stick. An adult should prepare the cuts for children who are not ready to use scissors safely, and supervise cutting when they are.
Begin with a frame around the size of a postcard or half a sheet of printer paper. Wide strips are easier to handle than a dense collection of narrow ones. Two colors also make the crossing pattern clearer than a pile of different shades. Offer more colors later if the child wants them.
This is a project for children who can handle the materials safely with support. Keep cut scraps and tools away from younger siblings who may put them in their mouths. Beads, glitter, staples, and other small additions are unnecessary.
Prepare the paper frame
Fold the first rectangle in half so two opposite short edges meet. With the fold facing you, draw parallel lines from the fold toward the open edge, stopping about two centimeters before that edge. Space the lines roughly two centimeters apart. Leave an uncut margin at both sides as well.
Cut along those lines through both layers, then unfold the paper. You should have long slots inside a continuous outer border. If a cut accidentally reaches the outside, repair the border with a small piece of tape before weaving. The border is what keeps the slotted sheet together.
Cut the second sheet into strips that are slightly narrower than the spaces between the slots. Each strip needs to extend a little beyond both sides of the weaving area. The measurements do not need to be perfect, but wildly different widths make the first attempt harder.
Demonstrate one row, then hand it over
Place the frame flat, with its long internal bands running away from the child. Take one colored strip across those bands, lifting it over the first, sliding it under the second, and repeating. Leave both ends protruding beyond the woven area.
Push this first row gently toward one end of the frame. Start the next row in the opposite way: under the band where the previous strip went over. That reversal creates the checkerboard. Simply repeating the same starting movement in every row produces long matching columns instead.
Show the crossing slowly, using a short phrase such as “over, under.” Then let the child try. If a strip catches, lift the paper band slightly rather than pulling hard. The child can also lift each alternate band with one hand while guiding the strip with the other.
Help with the problem the child actually has
Before correcting a pattern, look at what is frustrating the maker. Perhaps the strip is too floppy, the opening is hard to see, or the rows slide around. Holding the frame still may be enough. A shorter frame or fewer slots can make another attempt more manageable.
- If a strip keeps tearing, replace it with a wider or sturdier one.
- If rows bunch up, spread them gently before adding another.
- If the pattern changes halfway across, trace that row together with a finger.
- If the child likes the unexpected pattern, leave it as a deliberate variation.
Ask whether help is wanted before taking the paper. You can demonstrate with a spare strip beside the project instead of moving the child’s hands or unpicking their work.
Finish when the maker is ready
Once the chosen area is filled, align the rows loosely and glue the protruding strip ends to the outer border. Let the glue dry, then trim excess ends if desired. The weaving can become a card front or a picture mounted on a larger sheet. Keep it away from wet surfaces.
Invite the child to choose a name, a display spot, or someone to give it to. A second version might use alternating colors, wider bands, or an intentionally empty space. Save a few prepared strips if they want to return to it. The next beginning is easier when the materials are already within reach.